


The Tesla Model 3's front fascia is a vulnerable part needing careful repair to prevent damage. Paintless dent repair (PDR) preserves the original finish without invasive methods. Installing clips accurately during repairs ensures exterior integrity and safety for your vehicle, especially after accidents or maintenance. Use specialized tools for precise alignment and secure fitting. For extensive damage, seek local auto repair services offering PDR or collision repair for a factory-like restoration.
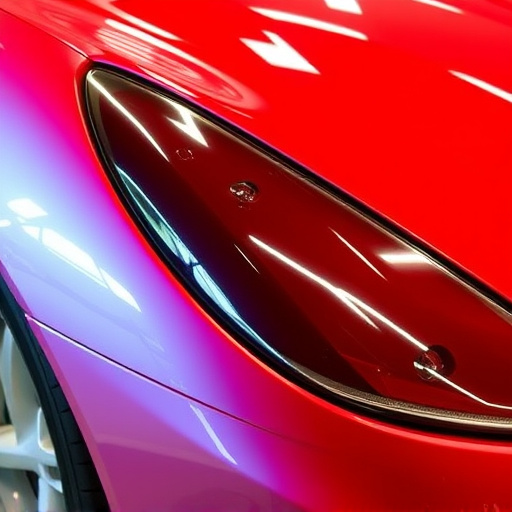
The sleek and distinctive design of the Tesla Model 3 is a testament to modern automotive aesthetics. However, like any vehicle, it’s not immune to damage, particularly in its front fascia. This article delves into the process of repairing the Tesla Model 3 front fascia, focusing on the critical step of proper clip installation. We’ll guide you through understanding common damage and demystifying the installation process for a successful repair.
- Understanding Tesla Model 3 Front Fascia Damage
- Demystifying Proper Clip Installation Process
- Step-by-Step Guide for Successful Repair
Understanding Tesla Model 3 Front Fascia Damage
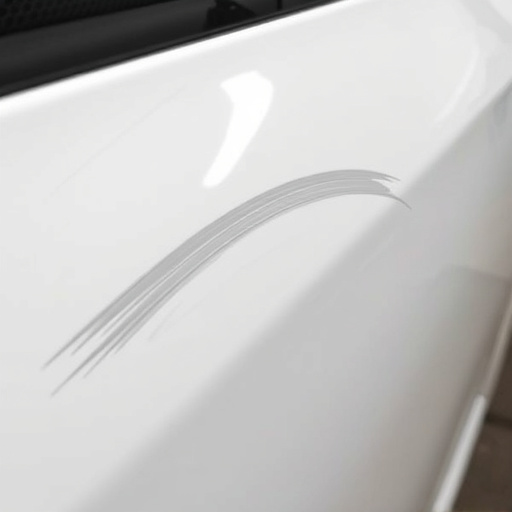
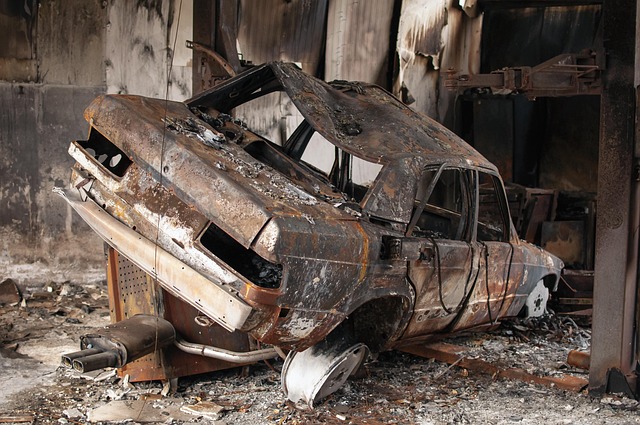
The Tesla Model 3 front fascia is a prominent and protective component of the vehicle’s exterior. Damage to this area can result from various incidents, such as collisions, debris impact, or even minor scratches and dents. Recognizing the signs of front fascia damage is crucial for efficient Tesla Model 3 front fascia repair. Dents, cracks, bends, or loose clips are common indicators that require attention.
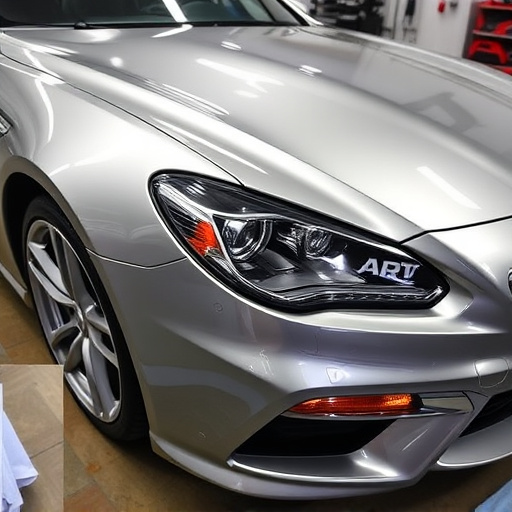
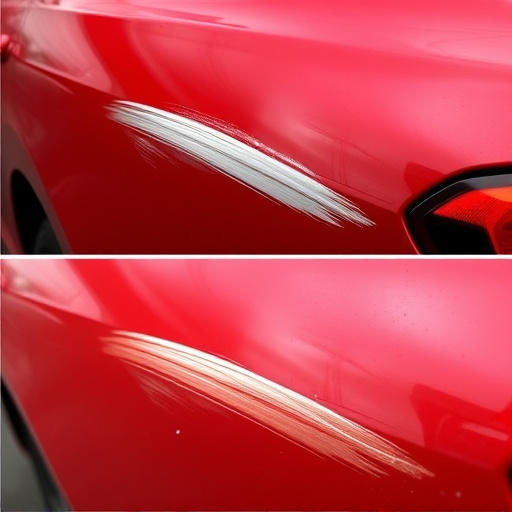
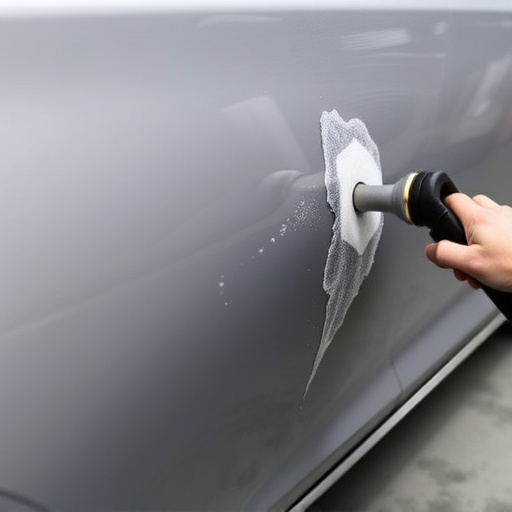
When addressing front fascia issues, considering options like paintless dent repair can be advantageous. This method allows for restoration without repainting, preserving the vehicle’s original finish. Unlike traditional auto body repairs, including those for a Mercedes Benz repair, paintless dent repair is non-invasive and can often be done quickly by skilled technicians located near you through a simple search for an “auto repair near me”.
Demystifying Proper Clip Installation Process
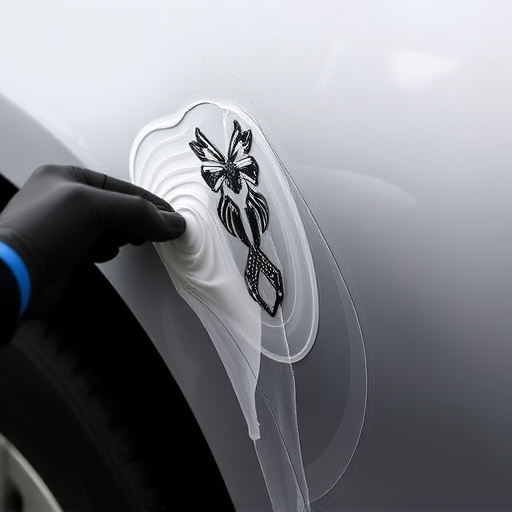
The process of installing clips during a Tesla Model 3 front fascia repair is often misunderstood by car owners, but it’s a crucial step in ensuring the longevity and integrity of your vehicle’s exterior. Many think of it as a simple task, but proper clip installation requires precision and attention to detail. These clips are responsible for securing various components of your car’s front end, from the bumper to the fenders and headlamps.
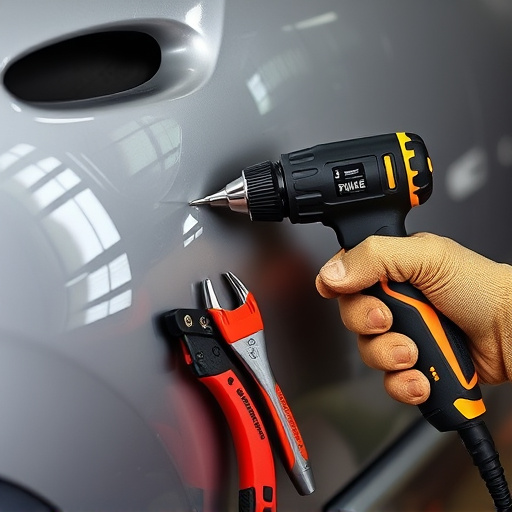
When undertaking a front fascia repair on your Tesla Model 3, whether it’s after a collision or simply for routine maintenance, understanding how these clips work is key. It involves aligning the clips accurately and then securely fastening them. A professional body shop service will have the expertise to handle this, using specialized tools to install the clips correctly. This ensures that all parts fit seamlessly, enhancing the overall appearance and safety of your vehicle. Proper clip installation also contributes to effective collision repair services, ensuring that your car returns to its pre-accident condition.
Step-by-Step Guide for Successful Repair
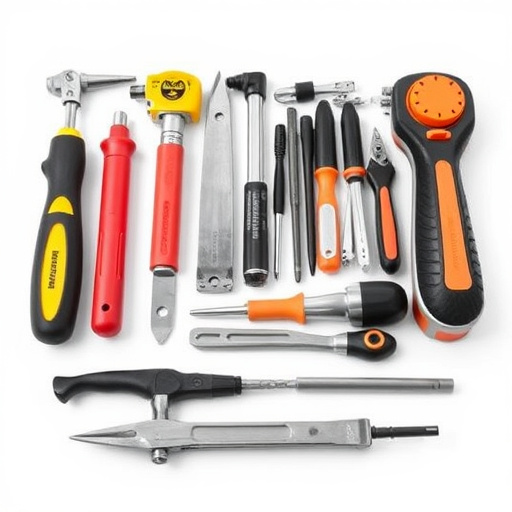
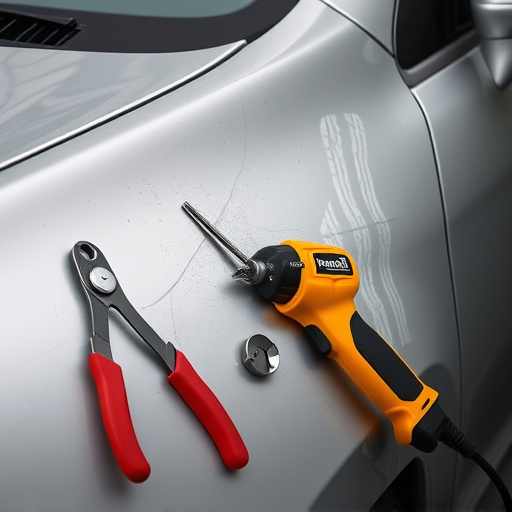
To successfully repair your Tesla Model 3’s front fascia, follow this step-by-step guide. First, gather all necessary tools and replacement parts, including the specific clips designed for the Model 3. Ensure the area is clean and well-lit to facilitate precise work. Begin by removing any debris or loose pieces from the front fascia, using a gentle yet thorough approach to prevent damaging surrounding components. Next, carefully disconnect any electrical components that might be attached to the fascia to avoid short circuits during the repair process.
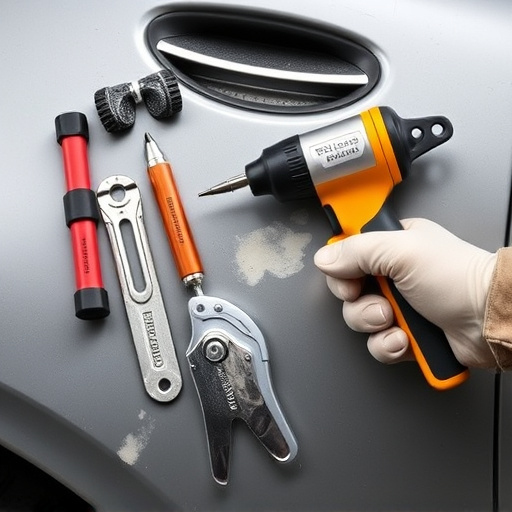
With safety precautions in place, start replacing clips one by one, aligning them precisely with the existing holes. Use a suitable tool to secure each clip firmly, ensuring they lock into place correctly. Once all clips are installed, double-check their stability and functionality. If you’re addressing any damage beyond clip replacement, such as dents or cracks, consider exploring auto repair near me options that offer paintless dent repair for a seamless finish without the need for extensive repainting. Alternatively, collision repair services can handle more complex issues, ensuring your Tesla Model 3’s front fascia is restored to its original condition.
The journey towards repairing your Tesla Model 3’s front fascia is now equipped with the knowledge of both identifying common damage and mastering the art of clip installation. By understanding the intricate process and following a structured guide, you can confidently tackle this task, ensuring a seamless restoration for your vehicle. Remember, proper attention to detail during the clip installation process is key to achieving a durable and aesthetically pleasing repair for your Tesla Model 3 front fascia.