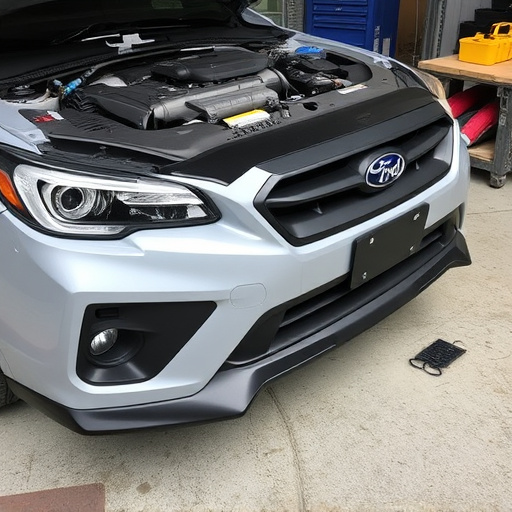


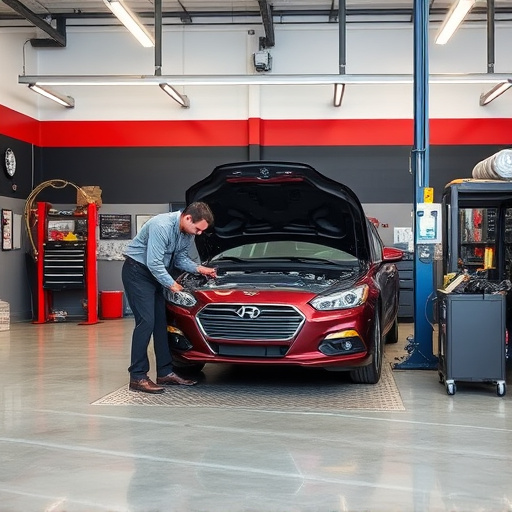

Tesla Model 3 front fascia repairs are needed for road debris and collision damage, ranging from dents to structural cracks. Proper preparation includes assessing vehicle condition, gathering tools, and sourcing genuine or high-quality parts. Professional services and paintless repair methods preserve the luxury aesthetic. Removal of old fascia, inspection for damage, installation of new fascia and clips, and alignment with precise specs ensure a robust connection.
“Discovering the art of Tesla Model 3 front fascia repair is a game-changer for car enthusiasts and DIYers alike. This comprehensive guide delves into the intricacies of fixing damaged front fascias, focusing on the crucial clip installation process. By understanding common causes like minor collisions or curbs, you’re ready to prepare. We’ll walk you through each step, from gathering tools to securing the replacement fascia, ensuring a seamless fit and a restored vehicle appearance.”
- Understanding Tesla Model 3 Front Fascia Damage
- Preparing for Effective Clip Installation
- Step-by-Step Guide to Secure Fascia Replacement
Understanding Tesla Model 3 Front Fascia Damage

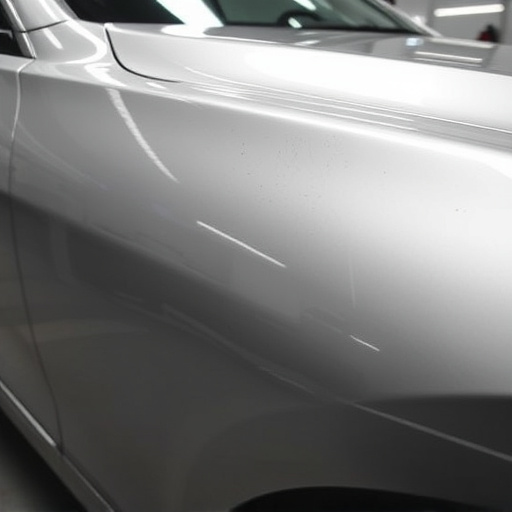
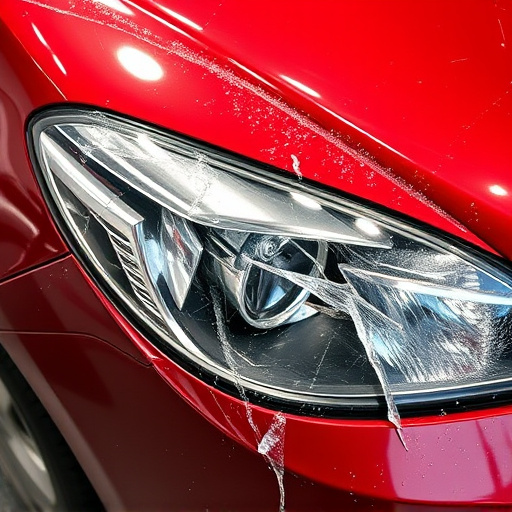
The Tesla Model 3 front fascia is a prominent feature of the vehicle’s sleek and modern design. However, like any external component, it can be susceptible to damage due to various factors such as road debris, parking incidents, or even minor collisions. Understanding the nature of this damage is crucial for effective Tesla Model 3 front fascia repair. Common issues include dents, scratches, and cracks in the fascia, which can range from superficial imperfections to more severe structural damages.
Proper assessment is key to addressing these problems. For smaller dents and minor scuffs, dent removal techniques can restore the fascia’s original appearance. More extensive damage, such as fender repair or replacements, may be necessary for larger cracks or significant deformities. Given that the Tesla Model 3 is a luxury vehicle, meticulous craftsmanship and high-quality parts are essential for ensuring the longevity and aesthetic appeal of the front fascia after repair.
Preparing for Effective Clip Installation

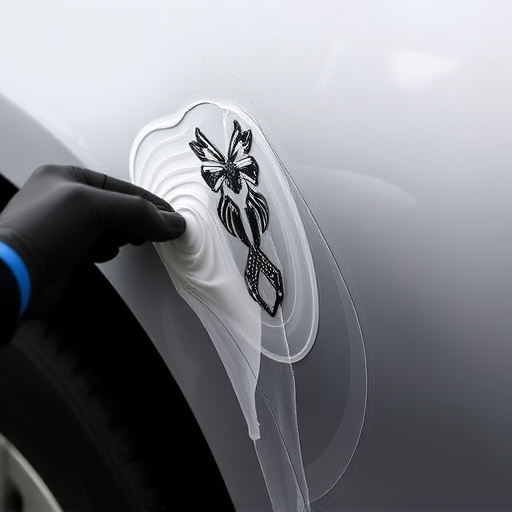
Before diving into the Tesla Model 3 front fascia repair process, ensuring proper preparation is key for effective clip installation. This involves assessing the condition of your vehicle’s current fascia and gathering all necessary tools and replacement clips specifically designed for the Model 3. It’s crucial to source genuine Tesla parts or high-quality alternatives that match the original specifications, as these will guarantee a secure fit and seamless appearance.
One valuable technique in preparing for clip installation is utilizing paintless dent repair methods whenever possible, which can help preserve the vehicle’s original finish. Engaging the services of a reputable auto repair shop or vehicle body shop specializing in Tesla models ensures access to experienced technicians equipped with advanced tools, further streamlining the repair process and enhancing the final results.
Step-by-Step Guide to Secure Fascia Replacement

To replace the Tesla Model 3 front fascia correctly, follow these simple steps. Begin by gathering all necessary tools and parts, ensuring compatibility with your vehicle model. Next, carefully remove the old fascia by unfastening any securing clips or brackets using a suitable tool, such as a flathead screwdriver or dedicated clip removal tool. This process requires precision to avoid damaging adjacent components.
Once the old fascia is removed, inspect the underlying structure for any signs of collision damage repair or dent removal. Ensure the frame is straight and all panels fit securely. Prepare the new front fascia by aligning it with your vehicle’s specifications, then install new clips and brackets following the manufacturer’s guidelines. Tighten them rigorously to guarantee a robust connection, preventing future issues like loose parts during high-speed drives.
Repairing a Tesla Model 3’s front fascia is a crucial task for maintaining its aesthetic appeal and functionality. By understanding the potential damage and preparing appropriately, you can successfully install a replacement fascia using proper clips. This step-by-step guide ensures a secure fit, enhancing your vehicle’s overall look. Remember, when it comes to Tesla Model 3 front fascia repair, attention to detail and the right tools make all the difference.