


Detach and clean existing Tesla Model 3 front fascia, document original alignment, install new/repaired fascia securely with provided hardware adhering to torque specs (20 Nm for brackets), double-check all connections for a seamless fit, and torque all bolts/nuts to manufacturer guidelines using a torque wrench for structural integrity and safety after Tesla Model 3 front fascia repair.
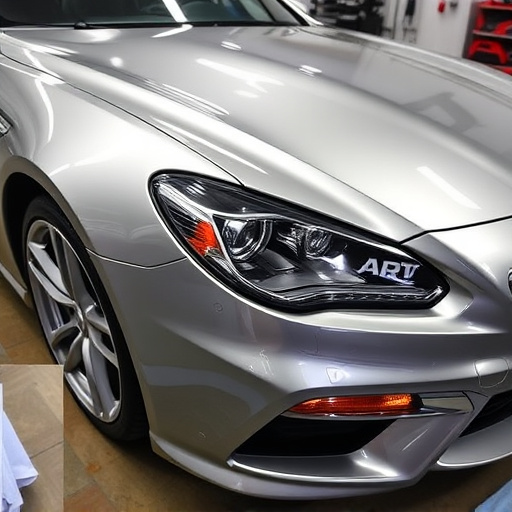
Looking to tackle a Tesla Model 3 front fascia repair? This comprehensive guide walks you through the process, from removing and preparing the old fascia to installing a new one and ensuring proper alignment. We’ll also cover the critical final torque specifications for a seamless reassembly. Discover expert tips and step-by-step instructions to restore your Model 3’s front end to like-new condition, all while saving time and money.
- Remove and Prepare Old Front Fascia
- Install New Fascia and Alignment
- Final Torque Specifications and Verification
Remove and Prepare Old Front Fascia

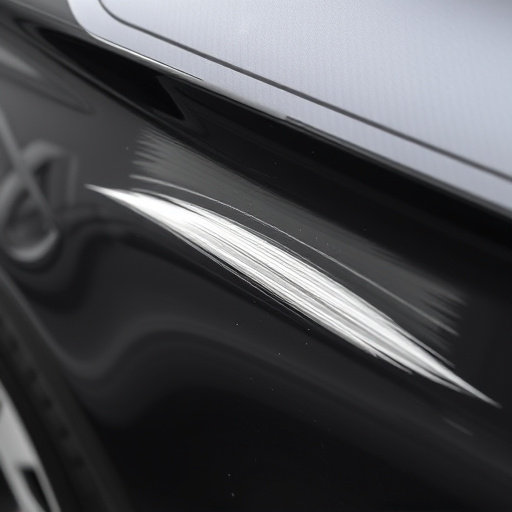
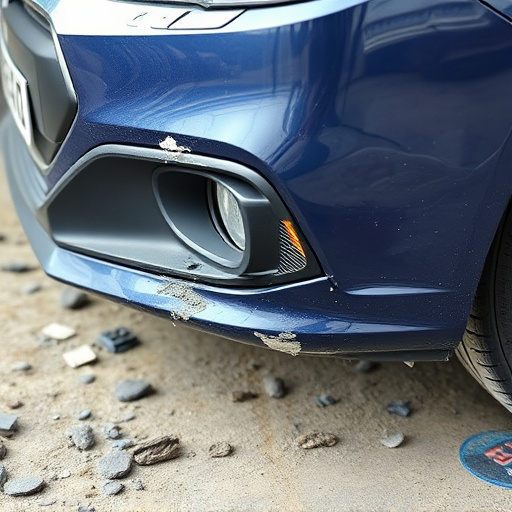
When embarking on a Tesla Model 3 front fascia repair, the first step involves carefully removing and preparing the old fascia. This process requires a meticulous approach to ensure a successful reassembly. Begin by loosening any secured components attached to the fascia, such as sensors or lighting units, using the appropriate tools. Then, with precision, unbolt and lift away the old fascia, taking note of its original positioning and alignment for reference during the repair.
Preparing the old fascia includes cleaning it thoroughly to remove any debris, corrosion, or previous repair residue. This step is crucial in achieving a seamless fit when reassembling. Additionally, inspecting for damage or warping becomes essential, as these issues may require custom adjustments or replacements, turning what was once a challenging car body repair into a straightforward classic car restoration process.
Install New Fascia and Alignment

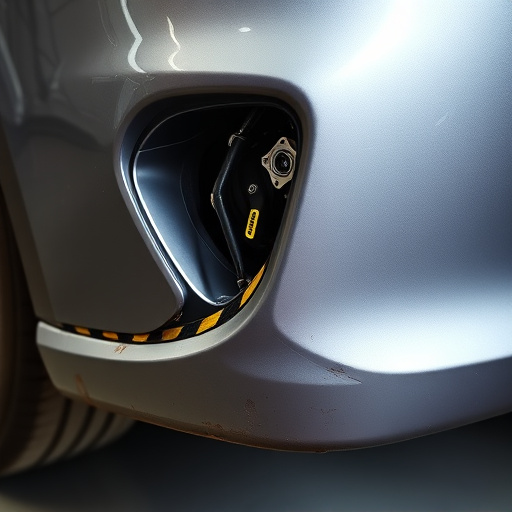
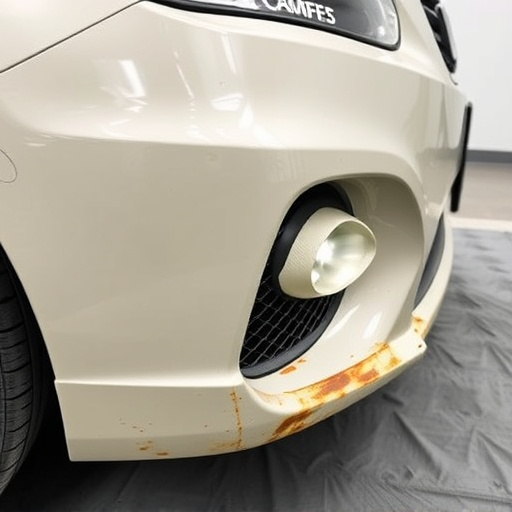
After acquiring a new Tesla Model 3 front fascia or repairing existing damage, the next crucial step is installing the new fascia and ensuring proper alignment. Begin by securing the new fascia into place using the provided hardware, strictly adhering to the vehicle’s specific torque specs for each component. This precision is vital to maintain structural integrity and prevent future issues.
Ensure meticulous alignment with the vehicle’s body panels, particularly around the bumper and auto glass repair areas. Any misalignment could lead to visible gaps or uneven surfaces, impacting both aesthetics and potential collision damage repair requirements down the line. Therefore, take your time to double-check each connection for a seamless fit.
Final Torque Specifications and Verification

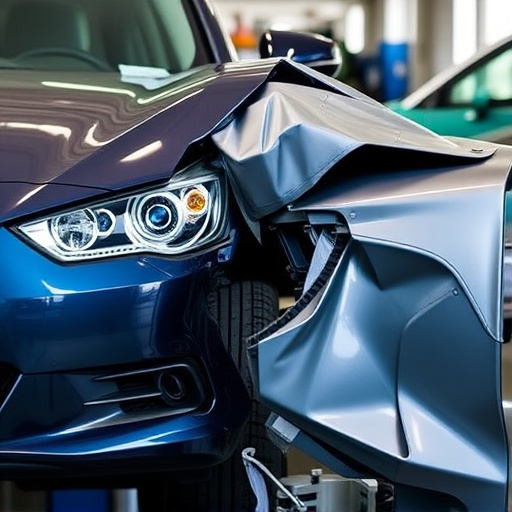
After completing the Tesla Model 3 front fascia repair, it’s paramount to double-check the final torque specifications for each component reassembled. This step ensures the vehicle’s structural integrity and safety. Referring to the manufacturer’s guidelines, all bolts and nuts must be tightened to the prescribed torque values. Typically, this involves using a torque wrench to ensure precision. For instance, front fascia bracket bolts should be torqued to 20 Nm, while certain fastener types might have specific requirements, such as 30 Nm or less for certain plastic fasteners.
Proper verification ensures that every joint is secure and aligned correctly. This meticulous process, involving both visual inspection and torque measurements, is a cornerstone of professional auto body services and collision repair centers. By adhering to these standards, these facilities guarantee the longevity and performance of the Tesla Model 3’s front fascia, among other critical components, after any repair or reassembly.
Repairing or replacing your Tesla Model 3’s front fascia is a straightforward process that can be accomplished with the right tools and specifications. By following these steps—including removing and preparing the old fascia, installing the new one, and ensuring proper torque during reassembly—you can achieve a like-new look for your vehicle. Remember, accurate torques are crucial for maintaining structural integrity, so double-check each step using the provided specifications. With a little time and effort, you’ll have successfully completed a Tesla Model 3 front fascia repair.