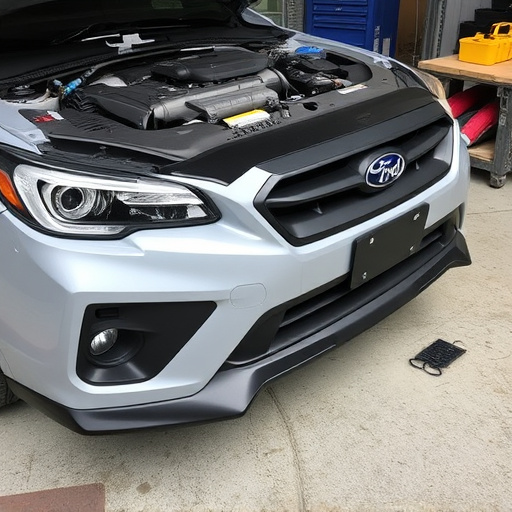

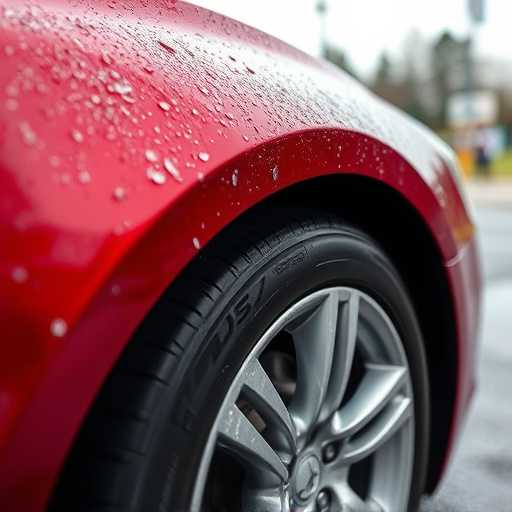


Visually inspect and assess damage to Tesla Model 3 front fascia, ranging from minor cracks to severe cases requiring professional repair or replacement. Gather tools and materials based on repair complexity, prioritizing safety and quality for a flawless finish. For complex repairs, use specific adhesives, sandpaper, and clamps; for minor issues, consider paintless dent repair techniques.
“Looking to fix those unsightly cracks or dents in your Tesla Model 3’s front fascia? This comprehensive guide is tailored for DIY enthusiasts and professionals alike, offering a detailed roadmap for Tesla Model 3 front fascia repair. From assessing damage to selecting the right tools and materials, we break down the process step-by-step. By the end, you’ll be equipped with the knowledge needed to restore your Model 3’s sleek and modern appearance.”
- Assessing Tesla Model 3 Front Fascia Damage
- Tools and Materials Needed for Repair
- Step-by-Step Guide to Replacing Cracked Fascia
Assessing Tesla Model 3 Front Fascia Damage
When assessing damage to your Tesla Model 3 front fascia, start by closely inspecting the visible cracks or dents. These can range from shallow scuffs and nicks to deep, structural breaks. Look for any signs of loose or misaligned panels, as this could indicate more significant underlying issues. Take note of the extent of the damage—is it confined to a small area or affects a larger portion of the fascia? This will help determine the repair approach needed.
Consider the impact on both aesthetics and safety. Even seemingly minor cracks can compromise the integrity of the front end, affecting airbag deployment and lighting systems. If the damage is severe, professional assessment by experienced vehicle repair services might be required to ensure accurate diagnosis and proper Tesla Model 3 front fascia repair, including fender repair or even car paint services, depending on the extent of the damage.
Tools and Materials Needed for Repair
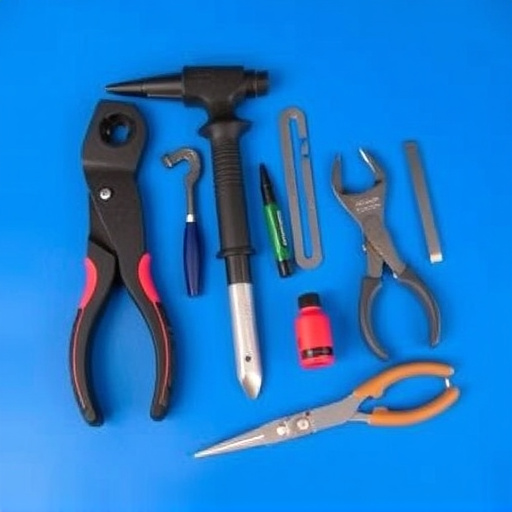
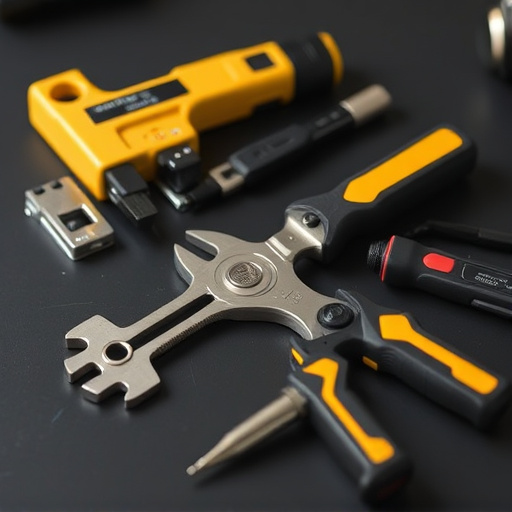
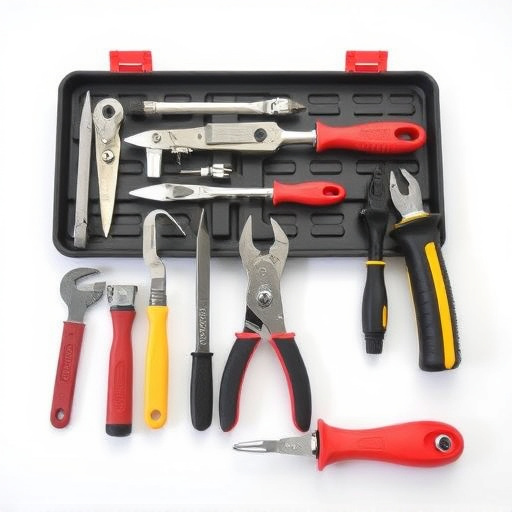
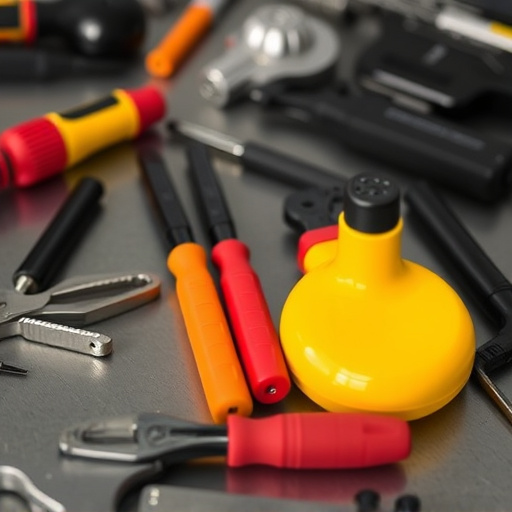
To successfully undertake a Tesla Model 3 front fascia repair for cracks or dents, several specific tools and materials are essential. This includes a set of precision screwdrivers suitable for automotive applications, as well as high-quality adhesive designed for use on composite materials—a key component in many modern car bodies, including the Model 3. A putty knife is also necessary for applying and smoothing out the adhesive or filler. For more intricate repairs, an air compressor and a set of sandpaper with varying grit sizes will be required to ensure a clean finish once the adhesive has cured.
Additionally, consider having on hand a range of protective gear such as gloves, safety glasses, and dust masks, which are always important in any car repair service, whether it’s a Tesla Model 3 or a Mercedes Benz. These not only protect you from potential hazards but also ensure that the repair area remains clean and controlled. This level of preparation is key to achieving a professional automotive restoration that matches the vehicle’s original finish and quality.
Step-by-Step Guide to Replacing Cracked Fascia
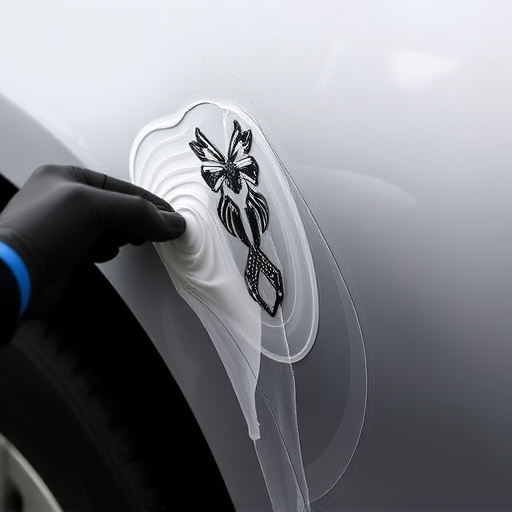
Replacing a cracked or damaged Tesla Model 3 front fascia can be accomplished with the right tools and a bit of patience. Here’s a step-by-step guide to help you get started on your repair. First, gather all necessary materials including a new front fascia panel, plastic glue, and clamping tools. Begin by removing any debris or loose pieces from the damaged area using a vacuum or brush. Next, carefully separate the old fascia from the vehicle, taking note of any brackets or fasteners that need to be reused. Once detached, inspect the crack or dent for severity; if it’s minor, a paintless dent repair technique might be suitable, allowing you to avoid extensive painting and finishing.
For more significant damage, however, a full replacement is recommended. Clean the surface thoroughly, ensuring no grease or grime remains. Apply the plastic glue along the edges of the new fascia panel, aligning it precisely with the vehicle’s contours. Use clamps to secure the panel in place until the glue sets. After curing, trim any excess material and ensure all gaps are even. Finally, if needed, a professional car paint service can be utilized to match the original color perfectly, ensuring a seamless finish that restores your Tesla Model 3’s sleek appearance.
Repairing or replacing a cracked or damaged Tesla Model 3 front fascia is a feasible DIY project for auto enthusiasts. By understanding the damage, gathering the right tools and materials, and following a detailed step-by-step guide, you can effectively restore your vehicle’s appearance. With this knowledge in hand, you’re equipped to navigate the process, ensuring a sleek and polished finish for your Tesla Model 3.