


To perform a Tesla Model 3 front fascia repair, first secure the vehicle with jack stands and remove all fasteners along the edges using the correct tools. Lift and set aside the old fascia for inspection, noting any wear or damage. Disassemble the fascia by disconnecting the headlight harness, removing bolts, and gently pulling it away. Inspect headlights and structural components, seeking expert guidance if needed. Have the right tools ready, including socket wrenches, torque wrench, plastic hammer, screwdrivers, pliers, alignment racks (for severe cases), and shock absorbers. Remove exterior parts like headlight assemblies and wiper blades before carefully detaching the fascia from the vehicle.
“Looking to refresh your Tesla Model 3’s look with a front fascia repair? This comprehensive guide breaks down the process step-by-step, from removing the old components (including necessary tools and precautions) to ensuring precise reinstalment. Learn how to address common issues affecting the fascia and perform a critical headlight fitment check post-repair for optimal lighting performance and safety. Get ready to restore your Model 3’s sleek exterior.”
- Removing the Old Front Fascia
- – Steps to safely and effectively disconnect and remove the existing front fascia components.
- – Tools required for disassembly.
Removing the Old Front Fascia

Removing the old front fascia on a Tesla Model 3 involves a careful and systematic approach to ensure a clean and precise repair. Start by securing the vehicle on a jack stand, ensuring stability for the duration of the process. Next, locate the fasteners holding the fascia in place—these are typically located along the edges and can be accessed with the proper tools. Using a mix of torx drivers and ratchets, gently loosen and remove each fastener one at a time to avoid damage or misalignment. As you work, pay close attention to any signs of wear, dents, or paint chips that may require additional attention during the repair process.
Once all fasteners are removed, carefully lift and set aside the old front fascia. This step allows for a thorough inspection of the underlying components and an opportunity to assess the extent of any damage or misalignment. It’s also a good moment to consider if there are any opportunities for auto detailing or vehicle paint repair to restore the fascia to its original condition, enhancing the overall aesthetics of your Tesla Model 3.
– Steps to safely and effectively disconnect and remove the existing front fascia components.

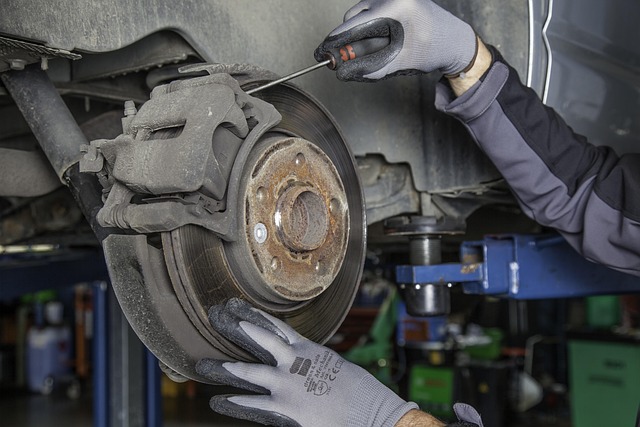
When undertaking a Tesla Model 3 front fascia repair, safety is paramount. Begin by ensuring all necessary tools and replacement parts are at hand, and wear protective gear such as gloves to avoid injuries from sharp edges or debris. Next, locate and identify each component within the front fascia, understanding their functions and connections. This knowledge will guide your disassembly process. Start by disconnecting the headlight harness, carefully detaching it from its connectors using a thin tool like a spanner or screwdriver. Proceed to remove the bolts securing the fascia, working methodically around the perimeter. As you unscrew each bolt, gently pull the fascia away from the car body, taking care not to damage surrounding components or paintwork. For complex installations, consider seeking guidance from auto detailing experts or professionals experienced in frame straightening and car restoration techniques.
Once the existing front fascia is removed, you’ll gain access to the headlights and underlying structural components. This step allows for a thorough inspection, identifying any issues that require attention during the repair process. By following these meticulous steps, you lay the groundwork for a successful Tesla Model 3 front fascia repair, ensuring your vehicle regains its aesthetic appeal and safety features are fully functional.
– Tools required for disassembly.

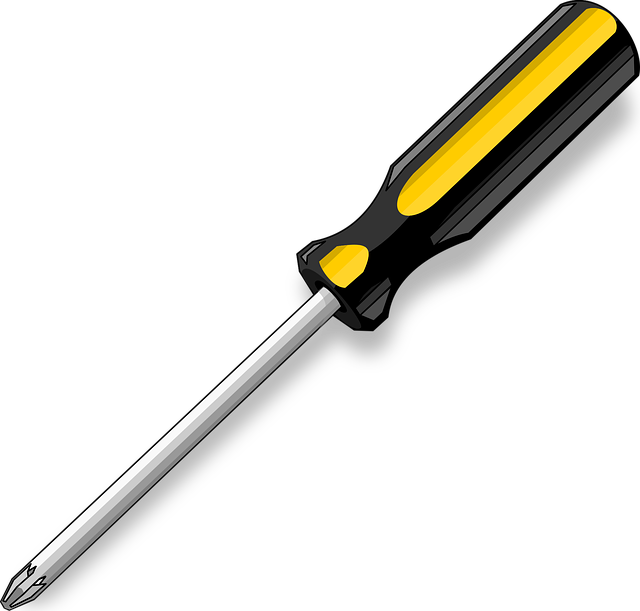
When tackling a Tesla Model 3 front fascia repair, the right tools are essential. For this job, you’ll need a good set of socket wrenches in various sizes, a torque wrench to ensure precise fastening, and a plastic hammer for carefully removing components without damage. Additionally, a screwdriver set with both flathead and Phillips heads is crucial, given the variety of screws securing the fascia. A pair of pliers will also come in handy for gripping tight spots. If the front fascia requires significant adjustment or frame straightening, consider having access to specialized tools like alignment racks and shock absorbers from an auto repair shop, ensuring a professional-grade result.
Proper disassembly involves starting with the removal of exterior components like headlight assemblies and wiper blades. Next, carefully loosen and detach the front fascia from the vehicle’s body, taking note of where each component attaches for easier reassembly. This process requires patience due to the intricate design of modern vehicles. Remember that meticulous disassembly ensures a more accurate repair, especially when dealing with precision auto bodywork, ultimately leading to a smoother reinstallation.
Repairing or replacing your Tesla Model 3’s front fascia can significantly enhance both its aesthetic appeal and functionality, especially after damage from impacts or wear. This guide has walked you through the essential steps to undertake a Tesla Model 3 front fascia repair, including safely removing old components. Remember that meticulous disassembly and proper tool usage are key to ensuring a successful fitment check of new headlights—a crucial part of your vehicle’s overall safety and visibility.